3.2 Download official image and create Jetbot Mini firmware
Component Environment Analysis:
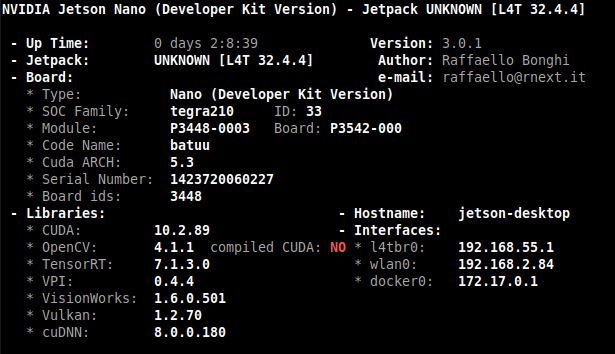
The version information shown in the figure above is downloaded from NVIDIA's official website on October 2020 21. The updated component environment of Jetson nano 2GB official image is also the official firmware component environment of yahboom intelligent jetbotmini 2GB. This component version environment has passed the full function test. If the user needs to download the new firmware environment from the official to build the jetbotmini firmware environment according to the official tutorial given by yahboom, in order to avoid various unknown abnormal problems caused by version compatibility in the built environment, please use 2020.10 as far as possible 21 official updated image environment.
Jetson nano NVIDIA official developer kit SD card image download address:
Search address:https://developer.nvidia.com/embedded/downloads#?search=Jetson%20Nano
Download address:https://developer.nvidia.com/jetson-nano-2gb-sd-card-image
3.2.1 Burn image into Micro SD card
Preparatory work: a PC and a micro SD card reader. The image to be burned is located in the tutorial - > factory image of jetbotmini. The official factory image of yahboom is the image of the configured environment. You can use it immediately without configuring the troublesome environment. The official factory image of NVIDIA is the pure image without the configured environment, If users need to try to build their own environment, we provide two kinds of images for users to choose.
- Download the Jetson Nano Developer Kit SD card image according to the address provided above and note where it is stored on your computer.
- Depending on the type of computer you are using: Windows, Mac or Linux, follow the instructions below to write the image to the Micro SD card.
Windows:
- Format SD card:
Before writing the system image, you need to format your SD card by SD Card Formatter.
Install Formatter:
Path of package : [JetBot-Mini-Robot-Car] --> [Annex] --> [Tools]--> [SD Card Formatter]
Insert the SD card into the computer by the card reader, you will see that the computer has one more drive letter.
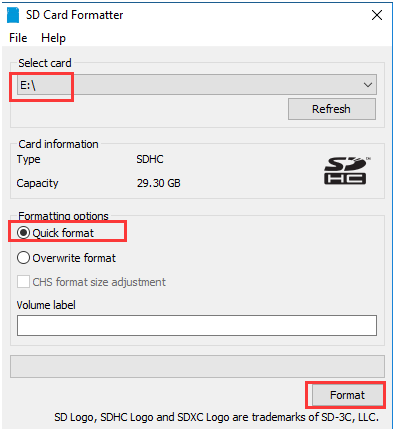
Note:If any warnings appear, please select”Yes/OK”.
- Write the Jetson Nano Developer Kit SD card image to the Micro SD card using Etcher.
Install Etcher:
Path of package : [JetBot-Mini-Robot-Car] --> [Annex] --> [Tools]--> [balenaEtcher-Portable]
Burn image:
Insert the formatted SD card into the computer through the card reader.

- Click "Select image" and select the compressed image file you downloaded earlier.
- If need to insert microSD card. If Windows prompts you to use the following dialog, please click “Cancel” (according to this description):

- Click "Select Drive" and select the correct device.

- Click on "Flash!" If your microSD card is connected via USB3, Etcher will take about 10 minutes to write and verify the image.
- After the Etcher is complete. If Windows prompts you to use the following dialog, please click “Cancel” (according to this description):
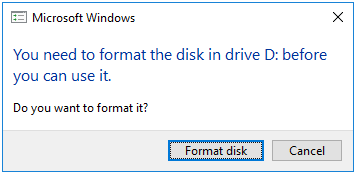
- Physically remove the microSD card from the computer.
MAC:
You can write an SD card image using a graphics program such as Etcher or a command line.
Method :
- Do not insert a microSD card.
- Download, install and start the Etcher.
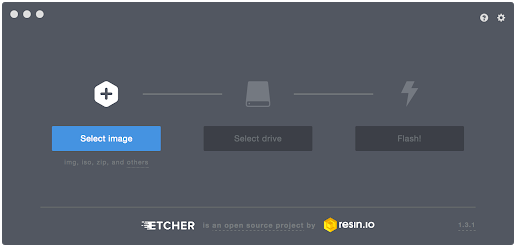
- Click "Select Image" and select the compressed image file you downloaded earlier.
- Insert the micro SD card. If your Mac displays this window, click “Ignore”:
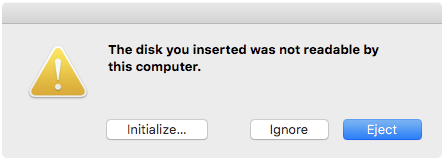
- If you are not connected to another external drive, Etcher will automatically select the microSD card as the target device. Otherwise, click "Select Drive" and select the correct device.
- Click on "Flash!" Your Mac may prompt you for a username and password before allowing Etcher to continue.
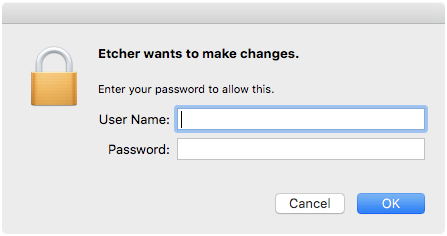
If your microSD card is connected via USB3, Etcher will take about 10 minutes to write and verify the image.
- After the Etcher is finished, if Mac prompts you to use the following dialog, please click “Ignore” (according to this description):
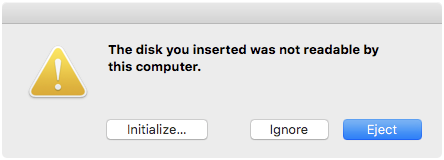
- Physically remove the microSD card from the computer.
LINUX:
You can write an SD card image using a graphics program such as Etcher or a command line.
Method 1--- Etcher
1)Download, install and start the Etcher.
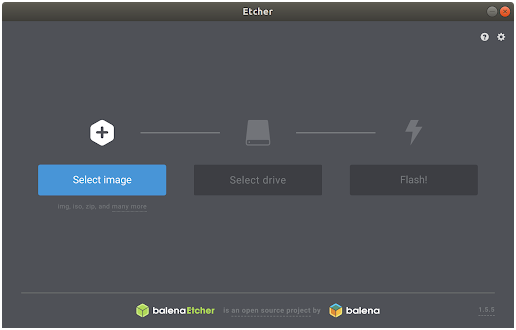
2)Click "Select Image" and select the compressed image file you downloaded earlier. 3)Insert the micro SD card. If you are not connected to another external drive, Etcher will automatically select the microSD card as the target device. Otherwise, click "change" and select the correct device.
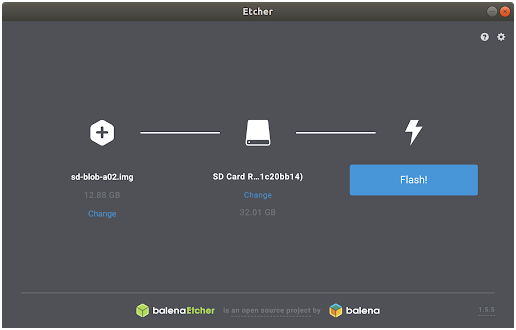
- Click on "Flash!" Your operating system may prompt you for a username and password before allowing Etcher to continue.
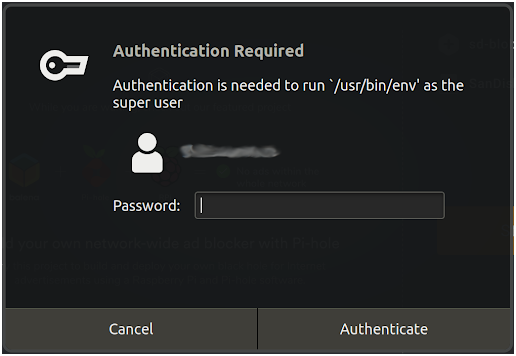
If your microSD card is connected via USB3, Etcher will take about 10 minutes to write and verify the image.
- After the Etcher is finished, use the Files application to eject the SD card:
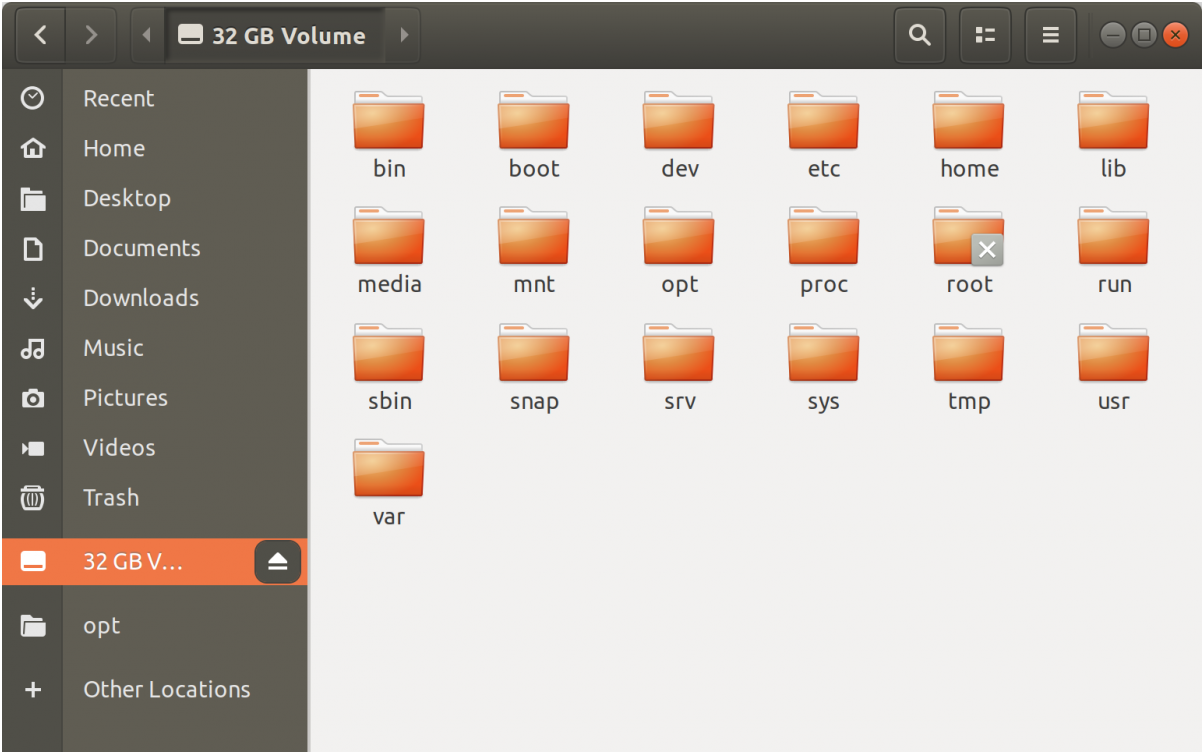
- Physically remove the microSD card from the computer.
Method 2--- command line
- Press Ctrl+Alt+t to open the terminal application.
- Insert the microSD card and use the command to display the disk device assigned to it:
dmesg | tail | awk '$3 == "sd" {print}'
In this example, we can see that the 16GB micro SD card is assigned /dev/sda:

- Use this command to write the compressed image to the microSD card:
xxxxxxxxxx/usr/bin/unzip -p ~/Downloads/jetson_nano_devkit_sd_card.zip | sudo /bin/dd of=/dev/sd<x> bs=1M status=progress
E.g:

After the command is completed, eject the disk device from the command line:
xxxxxxxxxxsudo eject /dev/sd<x>
4)Physically remove the microSD card from the computer.
3.2.2 Install the required components
Note: if you burn the factory image of jetbotmini, you can choose to skip this part of the configuration, because the required software has been configured in the factory image of jetbotmini.
0.The system needs to be updated before installation
Note: you need to connect WiFi or network cable before performing the following steps.
sudo apt-get update
sudo apt-get full-upgrade
sudo apt-get install nano 安装nano编辑器
1.Install pip
Because Python 3.6 is already installed in Jetson Nano, installing pip is relatively simple.
xxxxxxxxxxsudo apt-get install python3-pip python3-dev
After installation, pip is version 9.0.1, you need to upgrade it to the latest version.
xxxxxxxxxxpython3 -m pip install --upgrade pip #upgrade pip

xxxxxxxxxxsudo nano /usr/bin/pip3
Original
xxxxxxxxxx from pip import main if __name__ == '__main__': sys.exit(main())After modification
xxxxxxxxxx from pip import __main__ if __name__ == '__main__': sys.exit(__main__._main())Save after modification. Display after running PIP3 - V:

2.Install Jetbot Mini Dependency package
Here are the packages that need to be installed when Jetbot Mini is running:
| Name | 版本 |
|---|---|
| Adafruit-GPIO(Local installation) | 1.0.4 |
| Adafruit-MotorHAT(Local installation) | 1.4.0 |
| Adafruit-PureIO | 0.2.3 |
| Adafruit-SSD1306 | 1.6.2 |
| Flask | 1.1.2 |
| Jetson.GPIO | 1.0.0 |
| numpy | 1.16.4 |
| traitlets(Local installation) | 3.4 |
| pillow | 5.2.0 |
Local installation:
If you use the command to find the package in the source or the network environment is not good, we have provide the Jetbot Mini dependency package, transfer the local package to the Jetbot Mini file system by WinSCP.
Path of package : [JetBot-Mini-Robot-Car] --> [Annex] --> [Jetbot Dependency package]
Then, we can input: cd xxxx jumps to the directory where you need to install the package (the directory with the setup.py file)
Input this command:
xxxxxxxxxxsudo python3 setup.py install
Install the package.
Online installation:
Use the following command to install the corresponding package, (xxx is name of package you need to install)
xxxxxxxxxxsudo pip3 install xxx
If there is a compatibility issue with the new version of the installation, you can use the following command to install the dependencies of the version specified in the above listed package.
xxxxxxxxxxsudo pip3 install package==version0
(For example, you need to specify numpy 1.16.4 , you need to input command: sudo pip install numpy==1.16.4)
Install the cmake software:
xxxxxxxxxxsudo apt-get install cmake